Setting up Eclipse IDE
- Go to https://www.eclipse.org/downloads/eclipse-packages/
- Download Eclipse IDE for Java EE Developers
- Newer versions of Eclipse have installer so you can use it to install it
- When installation is done, start Eclipse and create your new workspace where will be your projects.
Setting up Apache Tomcat
- Download Apache Tomcat from http://tomcat.apache.org/
- Unzip it to some location where you will find it easy.
- Make sure you switched to Java EE perspective

- Go to Window -> Show View -> Servers
- Click at the link that showed up in the Servers tab

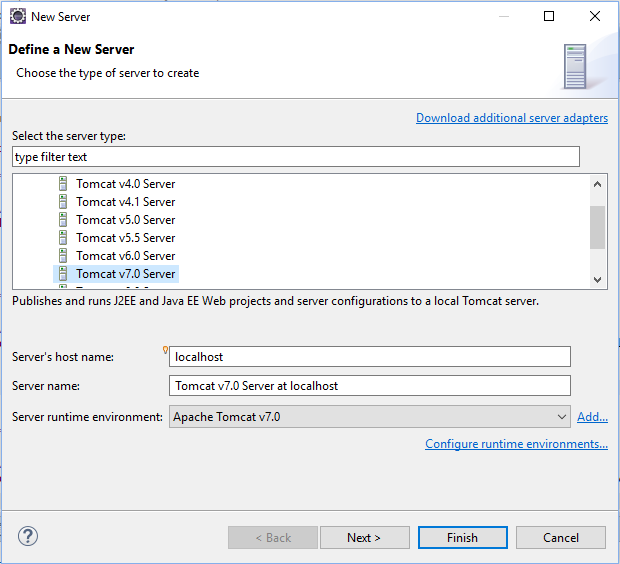
- New server wizard will appear. Choose Apache -> Tomcat v7.0 Server. Define server’s both name and host name and then click on Add.
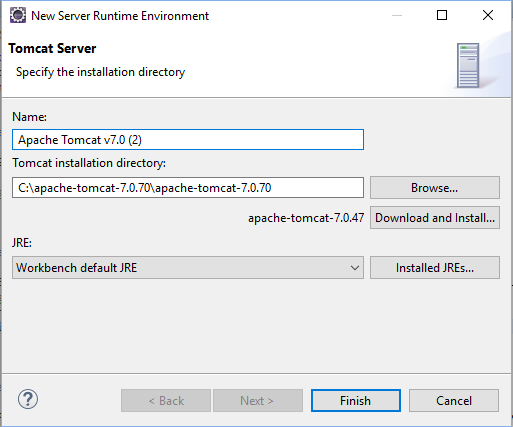
- Click on Browse and find folder where you unzipped Apache Tomcat. Then click Finish at the current and previous window.
You successfully installed Eclipse and created Apache Tomcat server at which we will test our web applications.
